Hey Everyone!!
My name is Raechal and I am a furniture flipper and DIY extraordinaire (that sounds so corny). I run a small business called Rae’s Relics in Port Colborne, On. Its a tiny little town close to Niagara Falls.
HOW SHE STUMBLED ON PLASTER PAINT:
I was first introduced to Plaster Paint through an Aunt of mine that is cuckoo for the brand. When she shared a post that Layne was looking for someone to sell in Ontario I knew I was that gal. I was desperate to try it out. I must add that I have a mouth like a trucker so when Layne called mean F’ing dork it was like the stars aligned and I needed to work with her.
RAE’S SASSY OPINION ON PLASTER PAINT:
I decided for my first crack at this paint line I was going to try all the products, I figured hey what’s the worst that could happen…I hate it and have to repaint..NOT THE CASE!!! I’m incredibly happy to report that I loved all the products that were offered.
LET’S GET DOWN TO THE HOW TO:
I started with the following: crackle, rose gold metallic paint, glaze and liquid wax ( I love this stuff). I began by lightly sanding my piece of furniture and followed this with a good cleaning with an ammonia based cleaner and water mixture. I am a huge fan of prep work whether its called for or not, I figure you can never be to safe. HOWEVER!! This paint line boasts that it is not always needed.
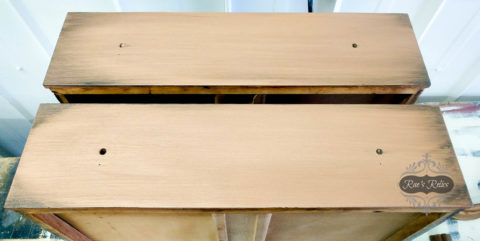
I continued on to paint my first coat of Rose Gold. I fricken loved the colour right off the hop, and it adhered very well with no primer necessary. 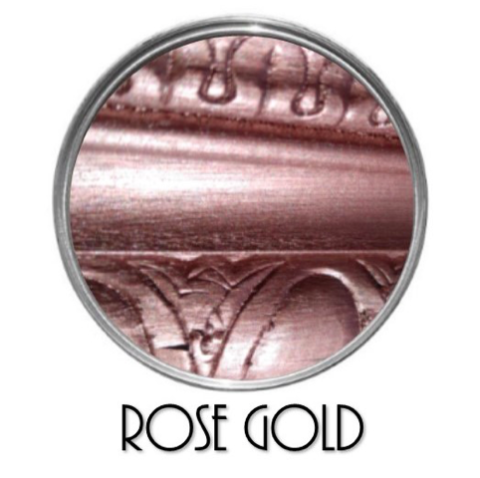
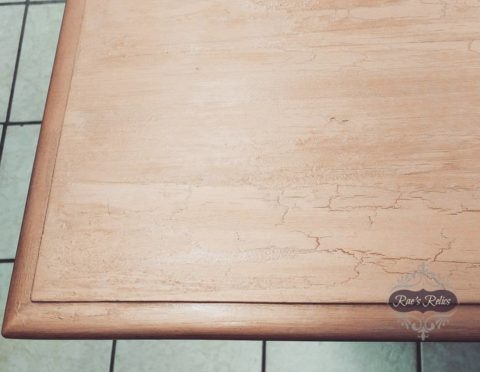
I couldn’t wait to move on to the crackle. I applied the crackle just like the jar says and let it sit to cure. I did find that it took much longer to dry than it had stated on the label. At this point I was thinking oh snap I did something
wrong. It eventually did dry and so I moved to the next coat of paint. This is where the crackle really started to happen.
NO ONE PUTS BABY IN THE CORNER!
As the second coat started to dry the crackle started to spread however… it also seemed to take away from the metallic in the paint. For this reason only I would not pair the two together again. ONLY because it seemed to dim some of the shine (no one puts baby in the corner ;))
THE ACCENT!
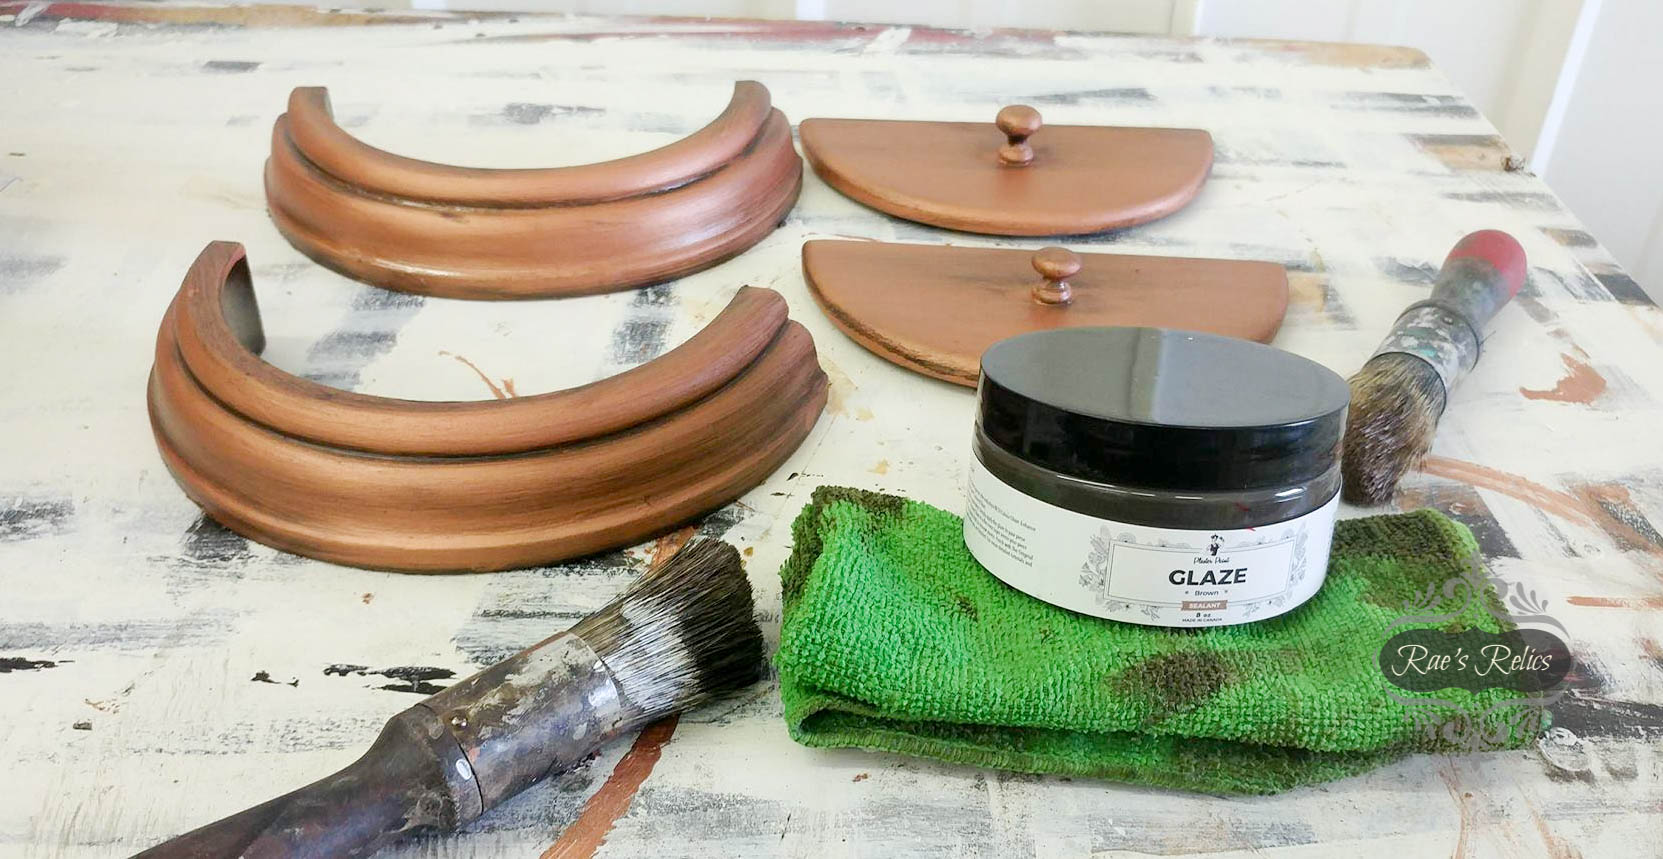
I then moved on to the glaze. This has become my signature in my little community. I brushed on the glaze just like I would the paint.
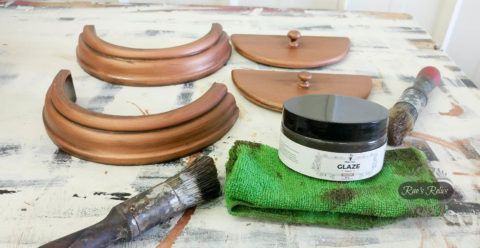
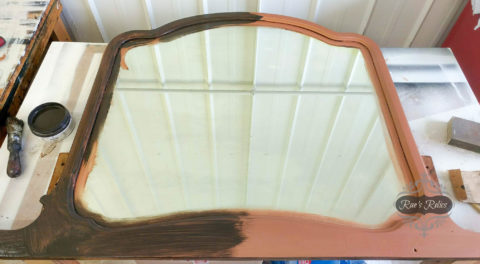
I keep a wet cloth with me and wipe the glaze off as I go. Leaving it behind in only the crevices that I want it to remain. You can then use a clean dry brush to move the glaze wherever your eye takes it.
BEST SEALER EVER!
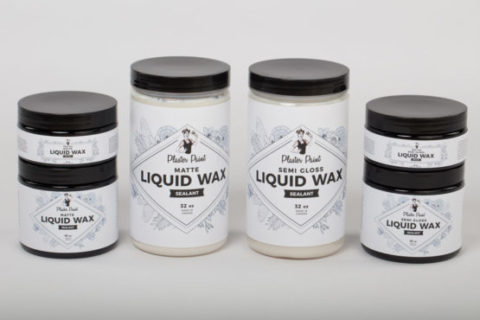
Last step was to brush liquid wax all over to ensure everything is protected. I fell in love with the liquid wax. It is so easy to use and goes very far for the amount given in each container. For good measure I did a second coat on the top in the high traffic area, only for good measure.
A WORK OF ART!!!
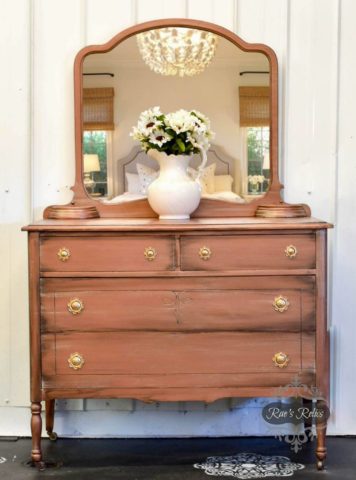
The long and short of it: I LOVED IT and can’t wait to use it again!! Stay tuned.. next up my kitchen island!!!
Rae from Rae’s Relics


Add comment